

When it comes to home improvement projects, nails may not sound like the most exciting topic. I mean, who gets pumped about hardware? But let’s change that narrative. Choosing the right type of nails can make or break a project quicker than you can say, ‘Oops, that’s not going to hold.’ So, whether you’re building a deck, hanging pictures, or assembling furniture, understanding the various types of nails hardware can save you time, effort, and, well, avoid a few regrettable DIY surgeries. Let’s jump into the nail-averse world of fasteners and arm you with knowledge that’ll turn your next project into a nail-biting success.
Understanding Nail Types
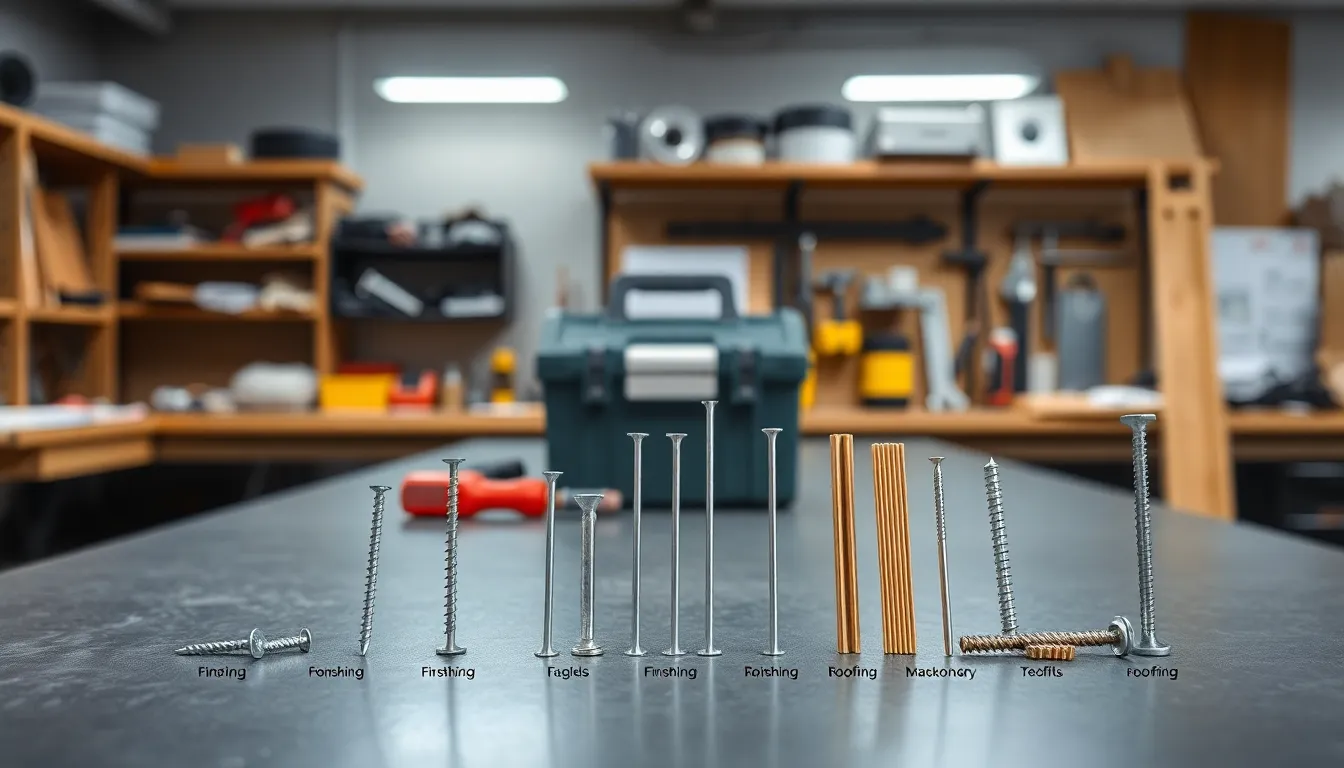
Nails may seem simple at first glance, but there’s a universe of options lurking beneath the surface. Understanding nail types is crucial for anyone engaging in any form of construction, whether professional or DIY. Each nail is designed with specific applications in mind, reflecting various shapes, sizes, and materials. You wouldn’t use a sledgehammer to hang a picture, so similarly, it’s essential to select nails that suit your exact project needs. Knowing what’s available can empower you to get the job done effectively and safely.
Common Nail Types
There are many common nail types used across various projects. Here are a few that stand out:
- Common Nails: These are your workhorses. Thick and sturdy, common nails are ideal for framing and structural needs.
- Finish Nails: These feature a smaller head for a cleaner look, perfect for finish work like trim and molding. Nobody wants to see a big nail head sticking out of their beautiful crafting.
- Brad Nails: Even smaller than finish nails, these are excellent for delicate tasks such as attaching thin wooden pieces.
- Duplex Nails: Look for these in construction and temporary setups: they feature two heads, making them easy to remove when needed.
- Roofing Nails: As the name implies, these are made for installing roofing shingles and often have a wide head.
- Drywall Nails: Designed specifically for hanging drywall, these feature a unique texture that helps grip better.
Specialized Nails
Beyond the common types, specialized nails cater to unique functions. Here’s a look at a few:
- Concrete Nails: Made from hardened steel, they’re your best friend when working with concrete or masonry. They’re tough, so make sure to use a heavy hammer.
- Nail Guns (Collated Nails): These use a pneumatic or electric system to drive nails quickly, making them a favorite in construction.
- Anchor Nails: Often used in stone or masonry, these nails are designed for heavy loads and high-strength applications.
- Tack Nails: Light and thin, these are perfect for attaching soft materials such as fabric.
Eventually, these specialized nails equip the builder with tools to tackle any project with ease.
Nail Materials and Coatings
The material of nails can significantly affect their performance. Here’s a quick breakdown:
- Steel Nails: The most common choice, offering excellent strength but may rust without a protective coating.
- Galvanized Nails: Coated in zinc to prevent rusting, these are excellent for outdoor projects.
- Stainless Steel Nails: Perfect for environments prone to corrosion, like coastal areas, but might burn a hole in your pocket.
- Brass Nails: Adding a distinct aesthetic, these are often employed in finish work but provide less strength than their steel counterparts.
Coatings also come into play. Some nails are designed to resist corrosion or enhance grip, such as those with epoxy coatings.
Choosing The Right Nail For Your Project
When picking out nails, several considerations should guide your choice:
- Project Type: Always consider what you are building. A deck isn’t going to love the same nails as your decorative picture frame.
- Material: The material of your build, whether it be wood, concrete, or something else, will dictate the nail type.
- Environment: Indoor vs. outdoor plays a significant role. Outdoor nails need that corrosion resistance, while indoor nails need not worry as much.
- Load-Bearing Needs: If your project will support weight, opt for thicker, sturdier nails.
Matching nails to these variables ensures projects last longer and perform well.
Nail Size and Length Considerations
Picking the right size can make all the difference. Generally, longer nails provide better holding power, while shorter nails work well for thin materials. Here’s a quick way to figure it out:
- Thickness of Material: A good rule of thumb is to choose a nail length that’s three times the thickness of the material you’re fastening. For example, if you’re attaching plywood that’s ¾ inches thick, aim for a nail that’s 2 to 2.5 inches long.
- Nail Diameter: Pay attention to gauge: the lower the gauge number, the thicker the nail. Consider your project needs: thicker nails add strength but can split wood if overused.
In projects where multiple materials are involved, opt for nails that balance the requirements of all involved materials.


